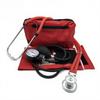
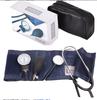
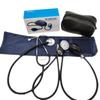
Feature:
1. Accurate Measurement: The manual sphygmomanometer provides highly accurate blood pressure readings, verified by the included stethoscope.
2. Universal Cuff: The cuff fits arm sizes ranging from 22cm to 35cm, making it suitable for a wide range of adults. Suitable for use at home, school, etc.
3. Professional Tool: Sphygmomanometer is a professional grade device, ideal for healthcare professionals and individuals monitoring their blood pressure at home.
4. Lightweight and Portable: Easily carry the sphygmomanometer and stethoscope kit for on the go blood pressure monitoring, whether at home or on the go.
5. Essential Monitoring: Regular blood pressure monitoring with this manual sphygmomanometer is essential for detecting early signs of hypertension.
Specification:
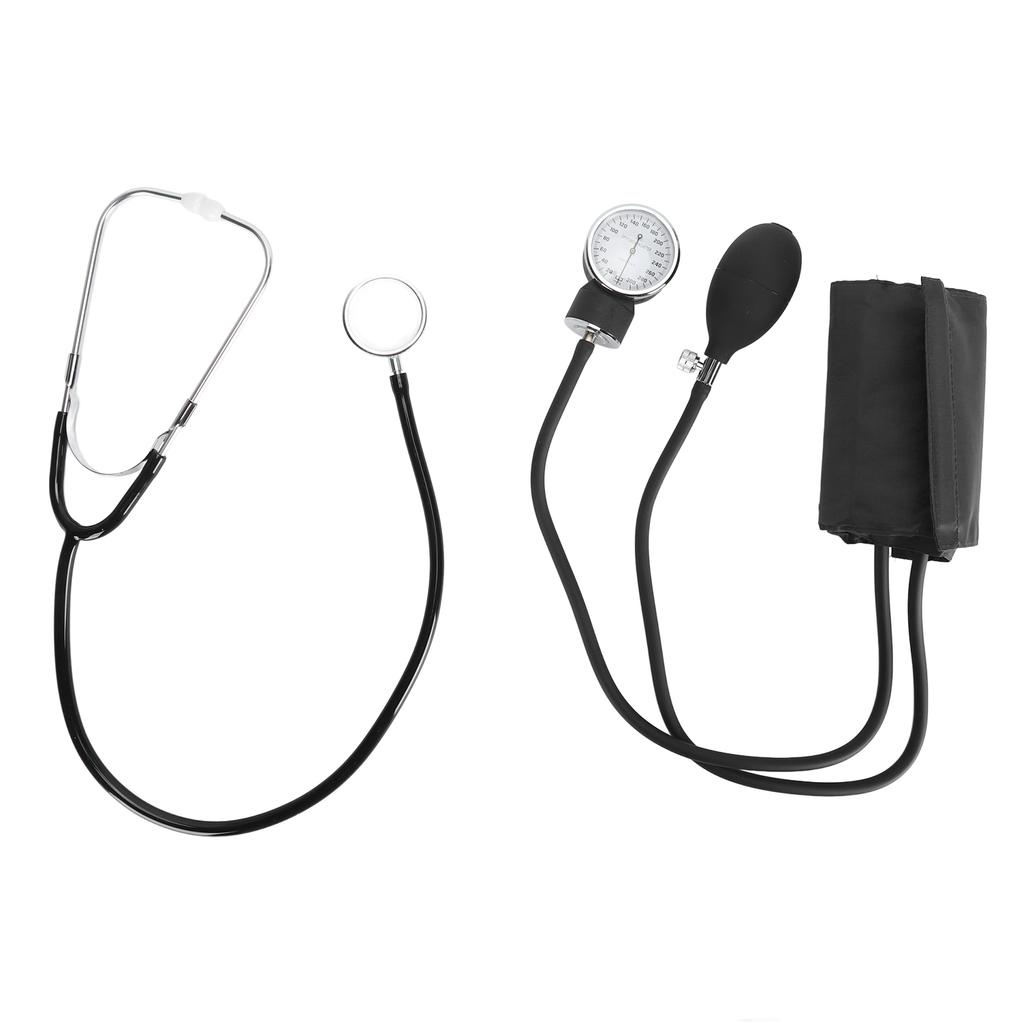
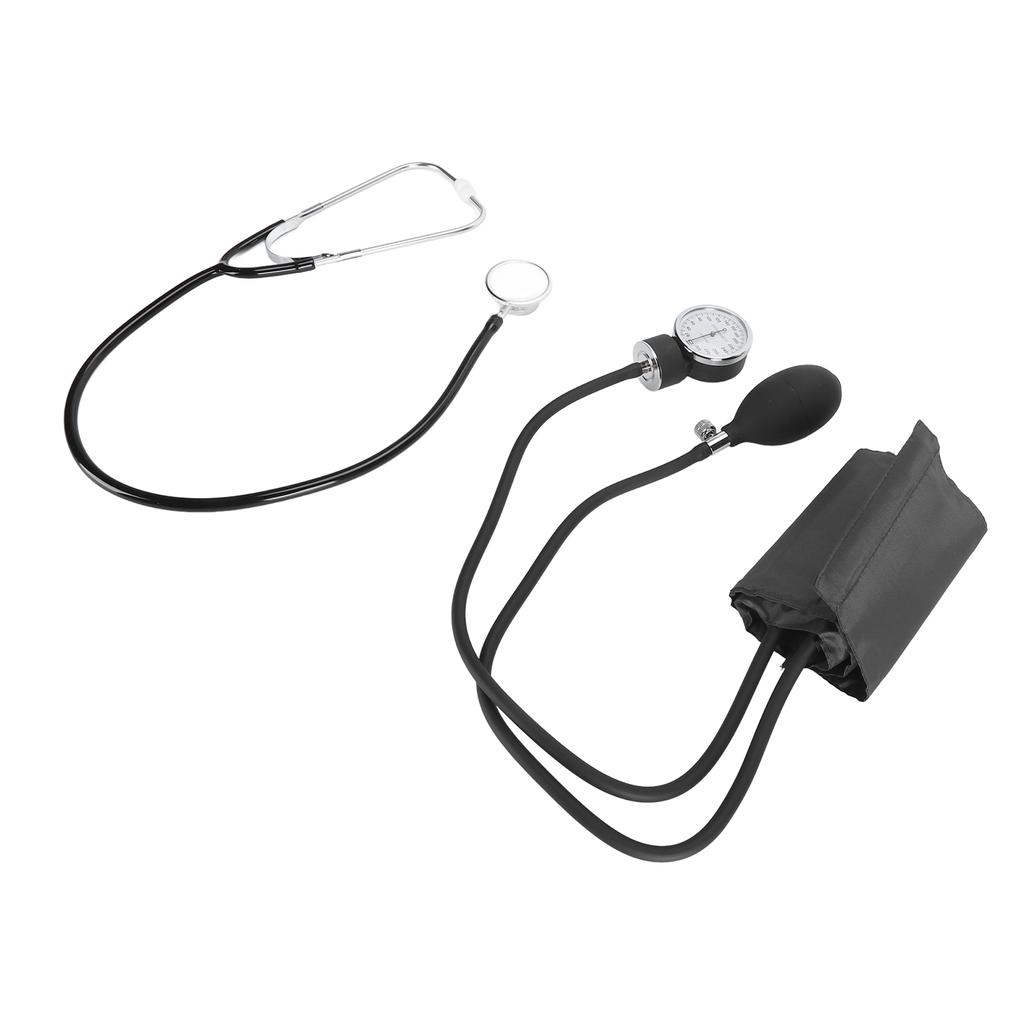
Item Type: Manual Cuff Sphygmomanometer
Material: Aluminum alloy, PVC, rubber
Measurement Range: 0 - 300 mmHg
Arm Circumference: Approx. 22 ~ 35cm / 8.7 ~ 13.8in
Measurement Accuracy: Blood Pressure ±0.4kPa (±3mmHg)
Pulse Reading Accuracy: ±5%
Operating Temperature: 10°C - 40°C
Pressure Type: Manual Mechanical
Minimum Scale: 2mmHg
Stethoscope Length: Approx. 70cm / 27.6in
Cuff Length: Approx. 51 x 13.7cm / 20.1 x 5.4in
How to Use:
1. Placing the Pressure Cuff
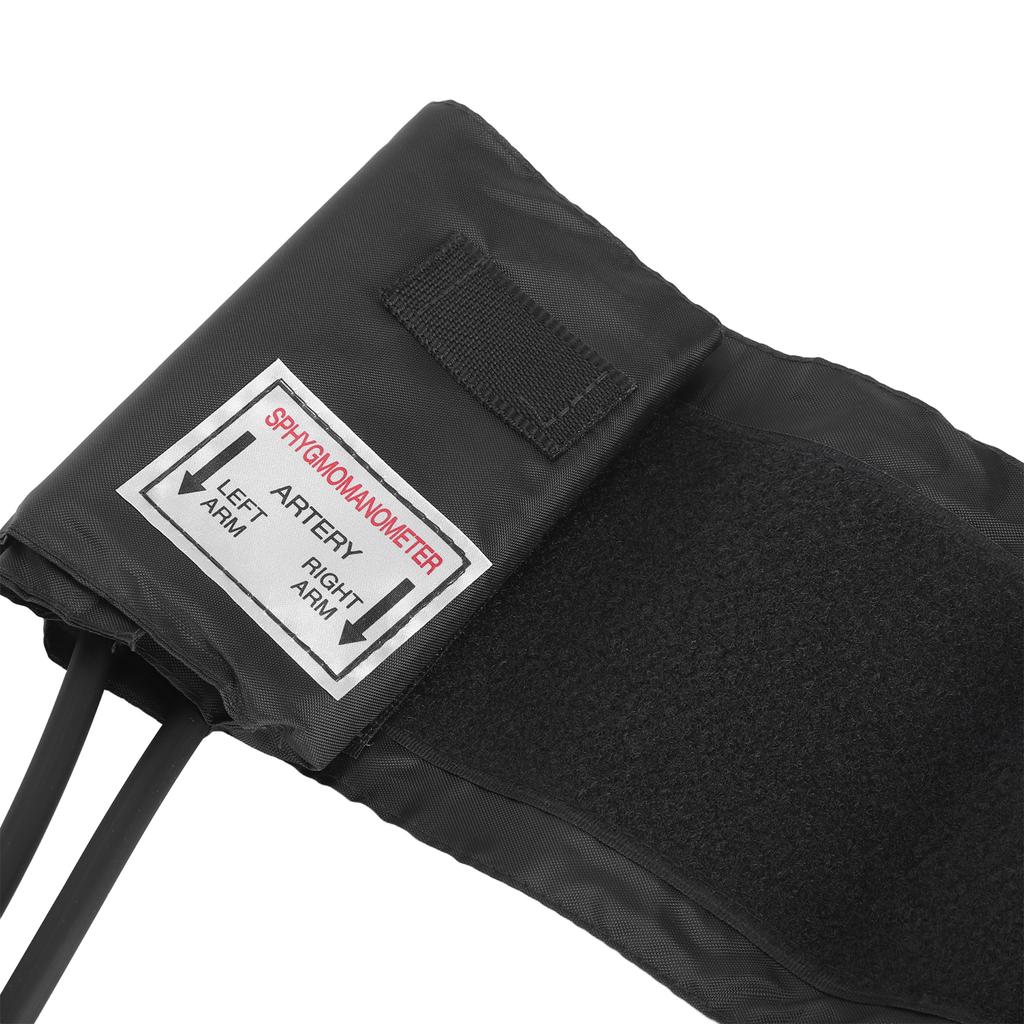
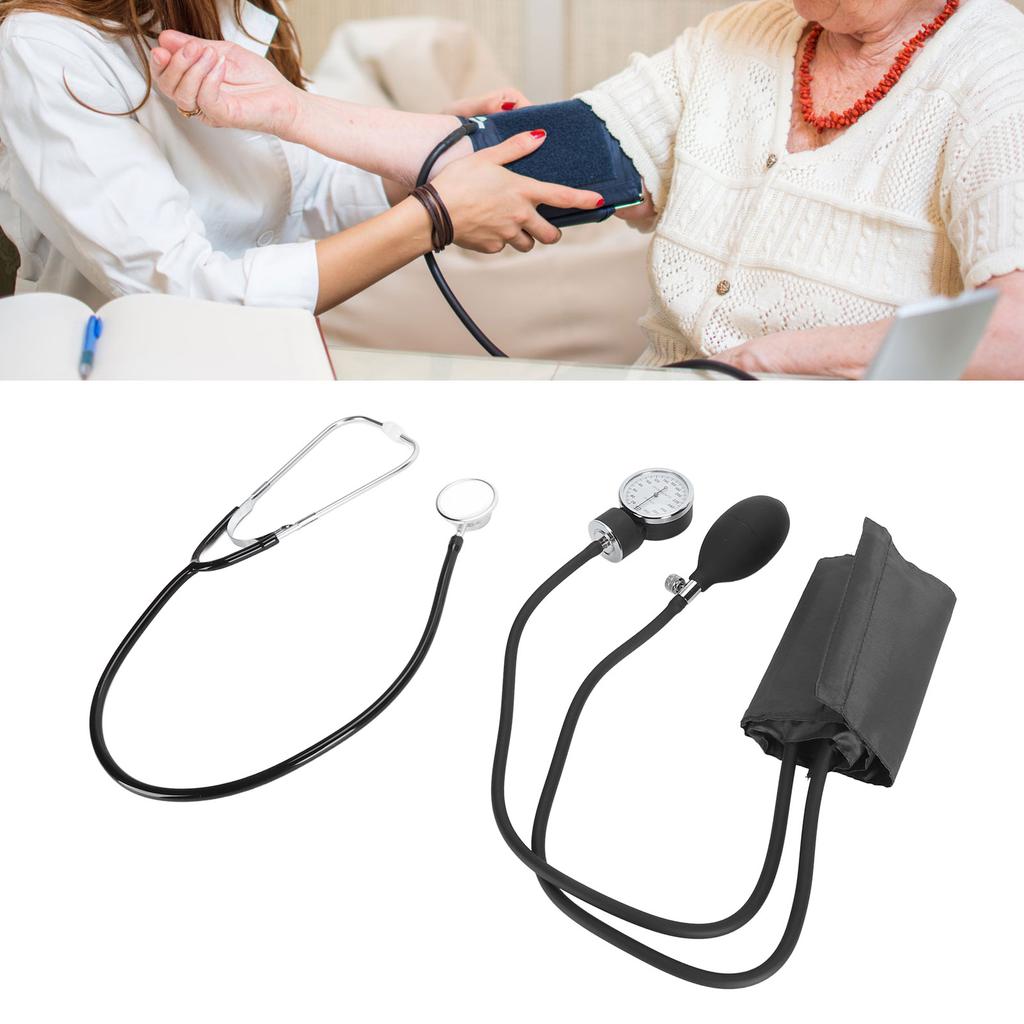
Before measuring blood pressure, plan to relax and rest for at least 15 minutes. This will reduce errors caused by physical activity. If you are right handed, place the pressure cuff on your left arm with the palm facing up. Whether sitting or lying down, ensure that your arm is at the same level as your heart. Rotate the cuff so that the diaphragm of the stethoscope (bell) is positioned on the inner side of your arm above the elbow. It is located in the indentation near the elbow joint on the major artery. (This artery can also be found by feeling the pulse of the artery.) Grab the end of the cuff, pull it tight, and wrap it around your arm, securing the cuff tightly with the hook and loop fastener strap.
2. Inflating the Cuff
Using your fingertips, feel for the pulse of the artery to ensure the head of the stethoscope is directly above the artery. Insert the earpieces of the stethoscope (adjust by rotating the stethoscope to fit your ears) with your left hand holding the gauge or clipped to the loop on the cuff providing readings. Close the airflow valve on the bulb (rotate clockwise) without over tightening. With your right hand, repeatedly pump the bulb to inflate the cuff. Inflate the cuff while listening to the pulse beat. Monitor the gauge. When you can no longer hear the pulse beat, inflate the pressure an additional 30 mmHg.
3. Slowly Deflating the Cuff
Slowly open the valve counterclockwise so that the pressure drops 2-4 mmHg with each heartbeat. (This usually means a drop of one to two marks on the gauge per second) The deflation rate is important for accurate readings. Remember, the pressure of the cuff cuts off all blood flow to the arm. Therefore, do not inflate it completely unless absolutely necessary.
4. Systolic Pressure
After opening the valve, listen carefully for a pulse. When you hear a faint, rhythmic tapping or pulsating sound, note the reading on the gauge. This is your systolic pressure. Initially, you may feel the pulsating sound; listen carefully and familiarize yourself with these unfamiliar sounds. You should also note that when your systolic pressure is reached, the needle on the gauge will "bounce."
5. Diastolic Pressure
Allow the blood pressure to continue to decrease at the same rate, dropping 2-4 mmHg per second. Listen carefully with the stethoscope. The sounds you hear will change in phase. From the initial incisive thud or bang, they will soften to whoosh or swishing sounds. Watch the falling needle. When you can no longer hear any sounds, read the gauge. This is your diastolic (lower) blood pressure reading.
Package List:
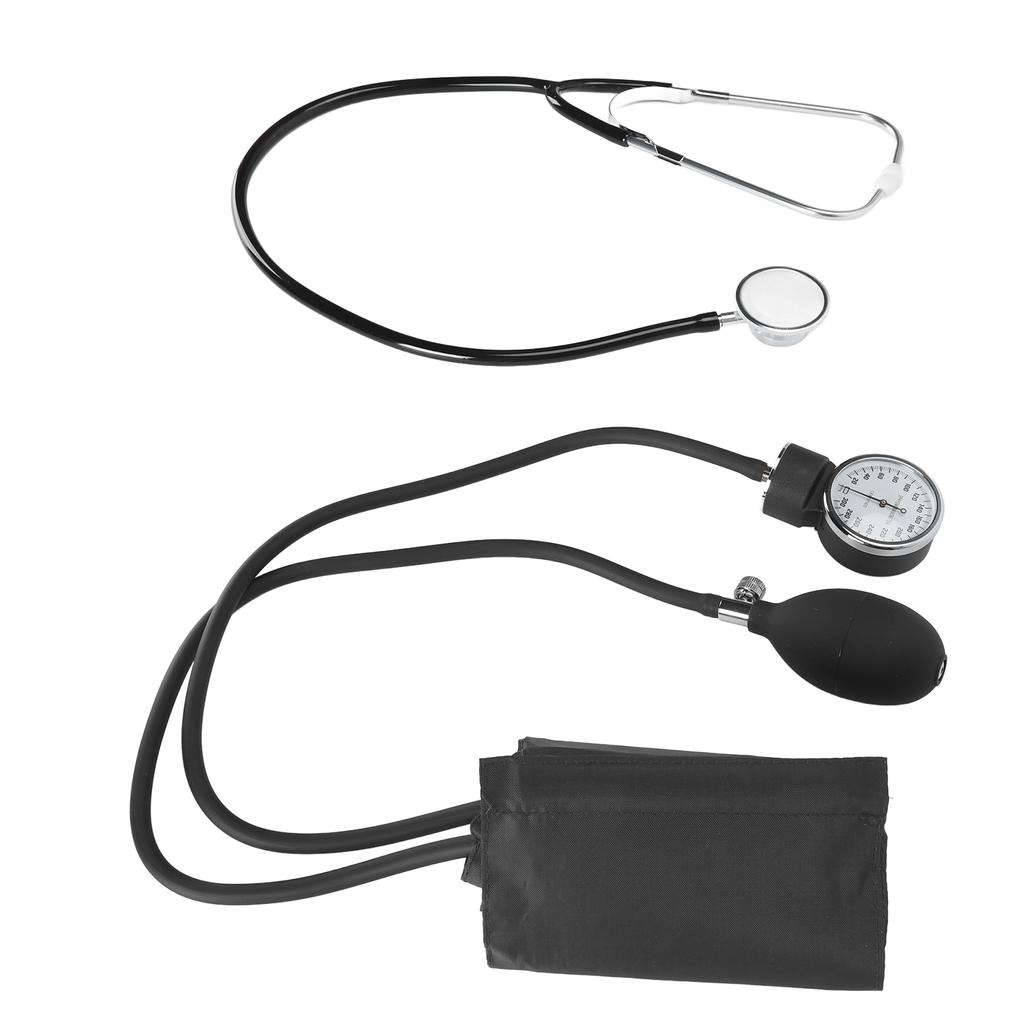
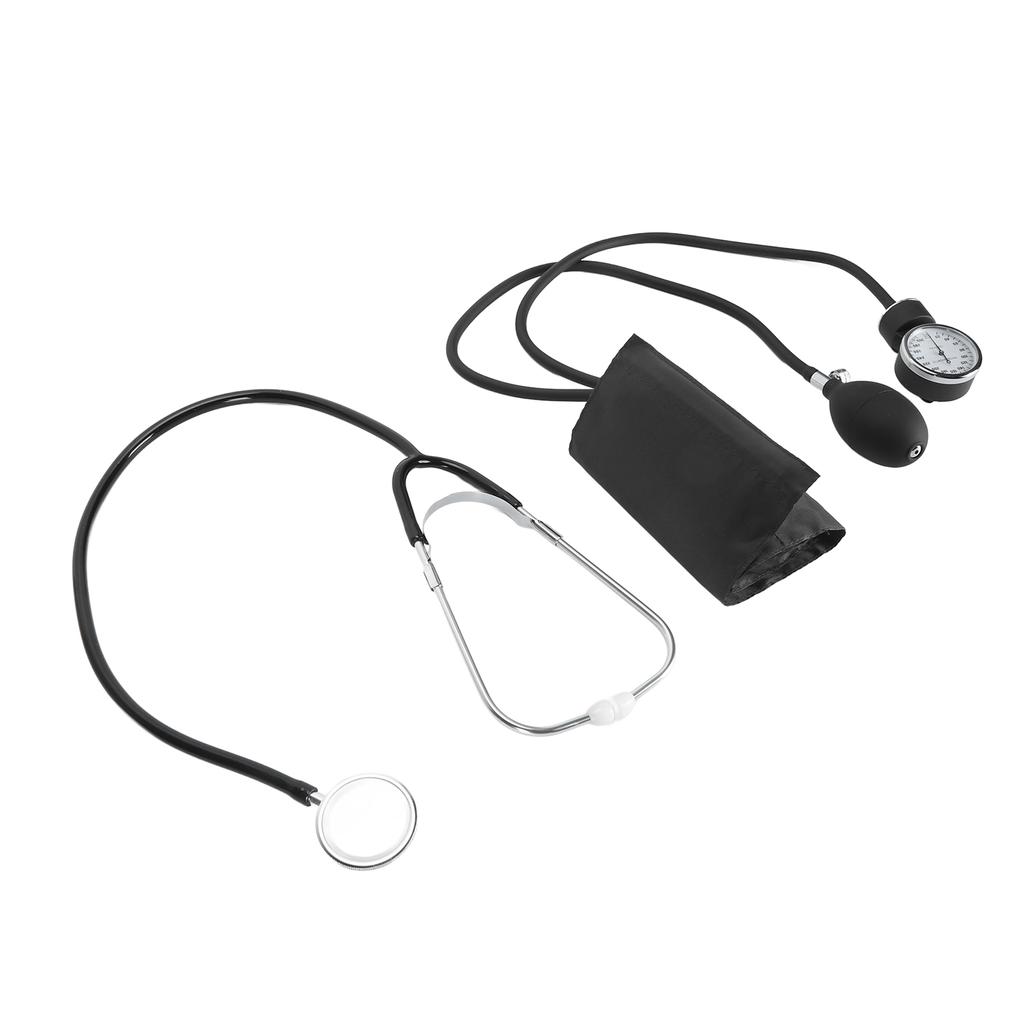
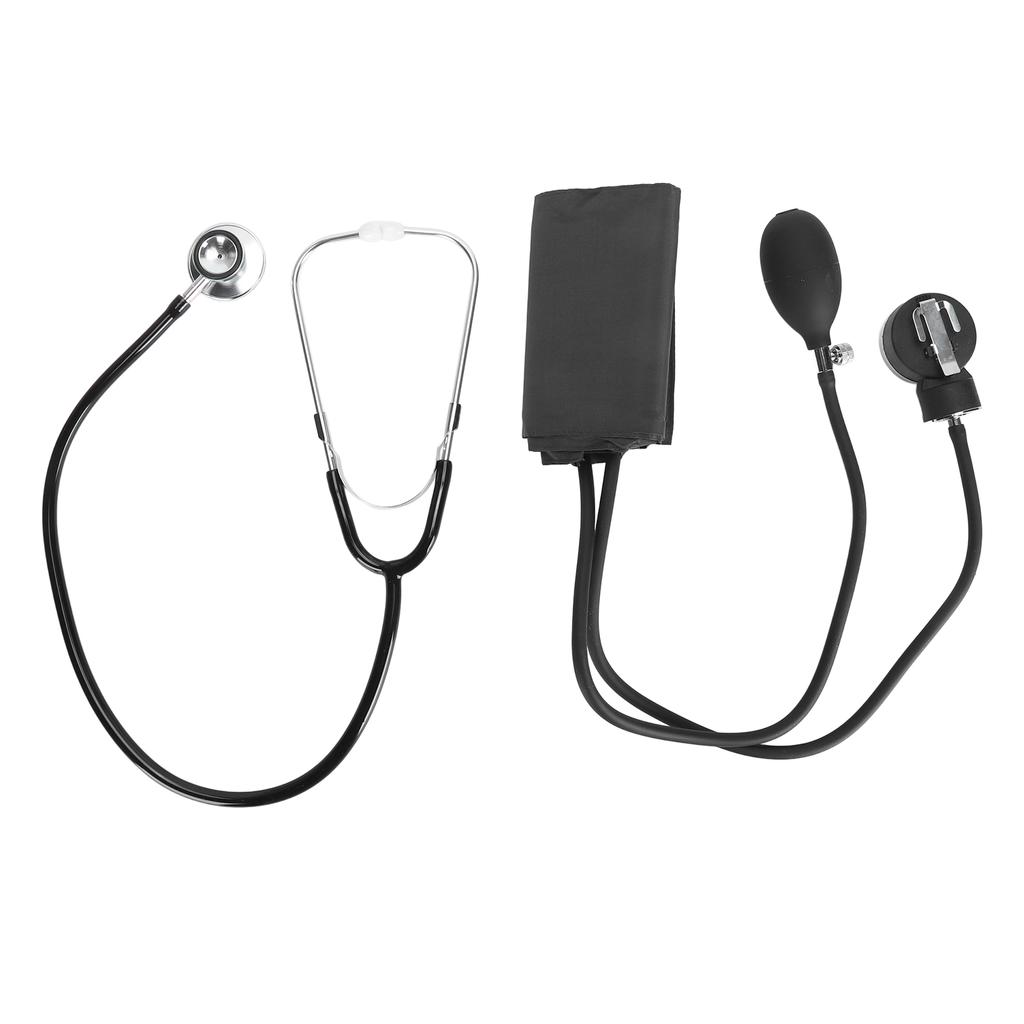
1 x Stethoscope
1 x Metal Earpiece
1 x Tubing
1 x Arm Cuff
1 x Pressure Gauge
1 x Pump
1 x Carrying Case
1 x User Manual
1 x Wrench



 No-delivery refund